Step 1, find a room. Step 2, build a railroad. Step 3, enjoy.
When I was house hunting during the process of moving to the Richmond area, a basement was high on my list of must-haves. A finished room over a garage would be a second choice, but basements have been the first choice of model railroaders for ages. I ended up with a walk-out style basement that was 33' by 24'. Stairs came down into the floor area away from the walls and offset towards one side, so that was an advantage. A bathroom had been roughed in with a drain for a tub and toilet in one corner and water supplies had been placed as well. There was no wall finishing, only bare concrete or stud walls. I insulated the stud walls and put furring strips up on the concrete, wearing out 2 hammer drills in the process. Once that was done, a drop ceiling and new lights were installed and a pvc floor was installed.
Multiple designs were made to maximize the railroad operations. At one point, the design had north to your right and the Acca yard wasn't included. A multiple deck design eventually fell out of the trials. Some changes were made as the layout progressed.
One large change was the addition of a second helix that connected the lower level staging yard to the main level at the north end of Acca. This allowed for operation to start earlier and include both north and southbound traffic and allowed a continous run, which ended up being very helpful for test and breakin of locomotives.
The Layout - Overview
The layout is a multiple deck, shelf style layout. Normally the deck is less than 12" wide; it does bump out to 24" at the major yard, which is my version of Acca Yard. Like most modelers, I had to compromise in what would fit and what would work well when it comes to operations, so the classification tracks are single ended, rather than double like the prototype.
When I first started laying track, I used the Woodland Scenics roadbed product, Track-bed, instead of cork, thinking that cork was "old" technology. Turned out that cork is easier to deal with and, as a big bonus, holds spikes very well, making track changes or reuse very easy. The track-bed, does not hold spikes, meaning you have to glue track down. This means that a good portion of the mainline will end up in the dumpter when I move anyway, no matter how modular I made it.
Contruction Methods
The benchwork is mostly built from 3/4" plywood; I ripped the sheets of it down to 3" wide strips that I then used to provide joists and other support framework. One thing I discovered is that the big box stores (Home Depot and Lowe's) sell 3/4" plywood that #1: isn't 3/4" and #2: Isn't consistent from 1/16 to 1/4 from a nominal 3/4" inch thick. Fun times occur when you try to match up your subroadbed and find issues like this.
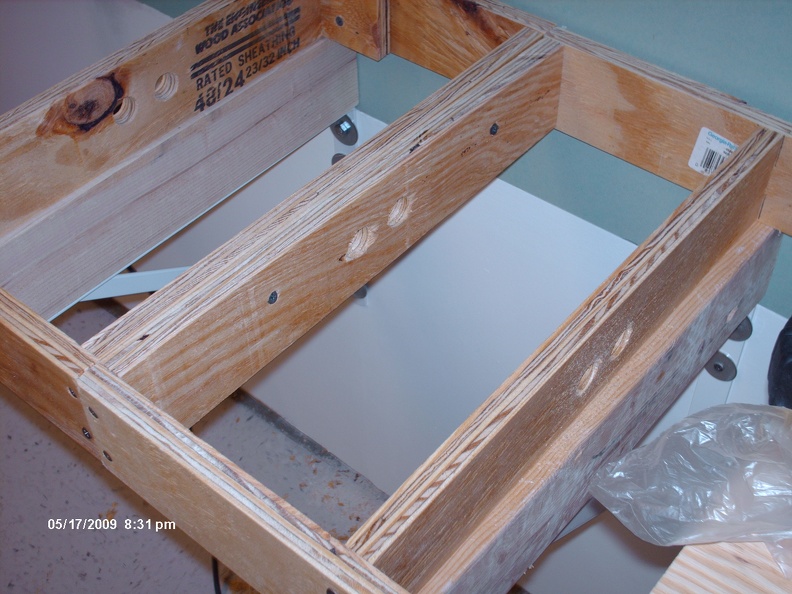
I started benchwork with the lowest level staging yard, which is 33" or so from the floor at track level. I built the benchwork somewhat like modules or dominoes in 8 foot long sections. I made an attempt to make things somewhat modular to make it easier to remove when the time comes to sell this house.
A view of how the modules were built, with holes cut for wire chasing. This shows a joint between two modules.
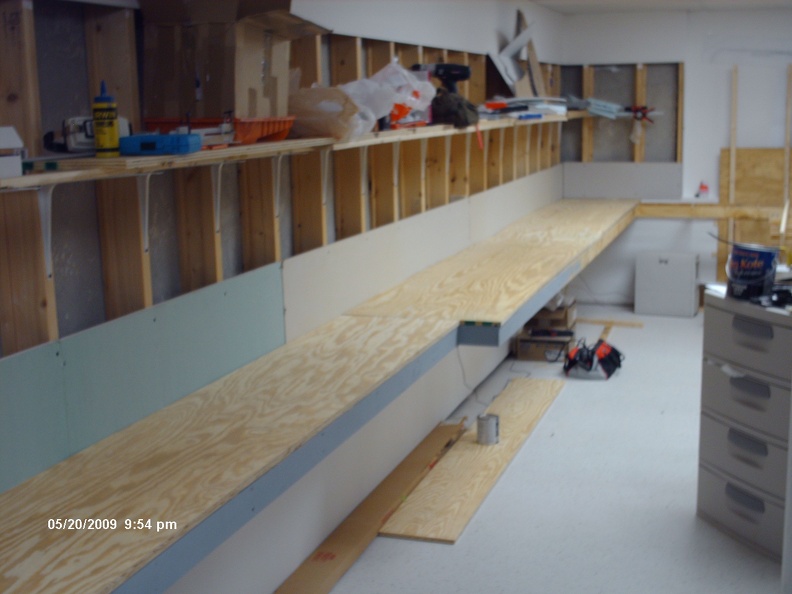
Here is a view of the lower level staging yard after the plywood is down on top of the domino sections
The camera I had back during the early contruction phases was some sort of HP point and shoot that just wasn't up to making good shots easy. Once I got into the track laying phase, I realized this camera did not have a macro function, so a newer camera was purchased that worked much better all around. If you browse through the gallery, this is probably fairly apparent.
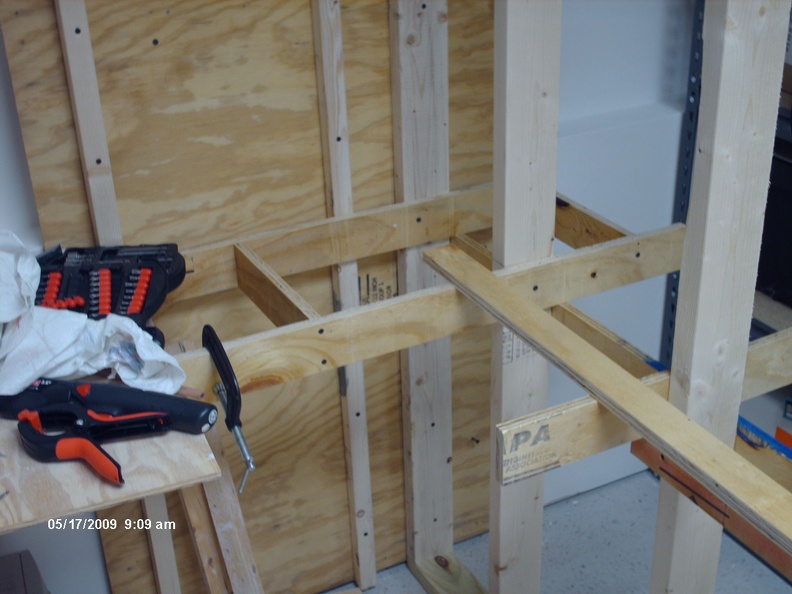
As time went along, I moved away from the truly modular style and just built things in place once I realized that trying to fit a shelf style layout into a different room than what it was built in was probably a fool's errand and that I should save the time spent in engineering modular solutions and use it elsewhere. The upper level reflects this change, as it is homasote on top of 3/4" plywood with offset joints. (Something else learned during contruction.) Here is the begining of the "less than modular" style construction.
This is where you exit from staging, heading north and come onto the visible part of the railroad.
When I first started laying track, I used the Woodland Scenics roadbed product, Track-bed, instead of cork, thinking that cork was "old" technology. Turned out that cork is easier to deal with and, as a big bonus, holds spikes very well, making track changes or reuse very easy. The track-bed, does not hold spikes, meaning you have to glue track down. This means that a good portion of the mainline will end up in the dumpter when I move anyway, no matter how modular I made it.